Securing the Lower Arm Subassembly B to The Turret
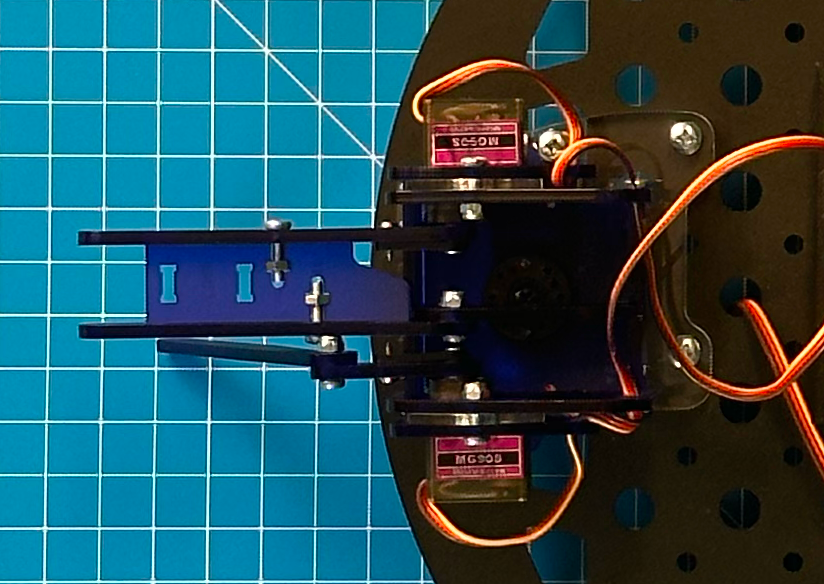
In this section, you will be securing Lower Arm Subassembly B to the turret. This subassembly will use the elbow servo to move your arm in the Z axis, or up and down.
Parts and Hardware
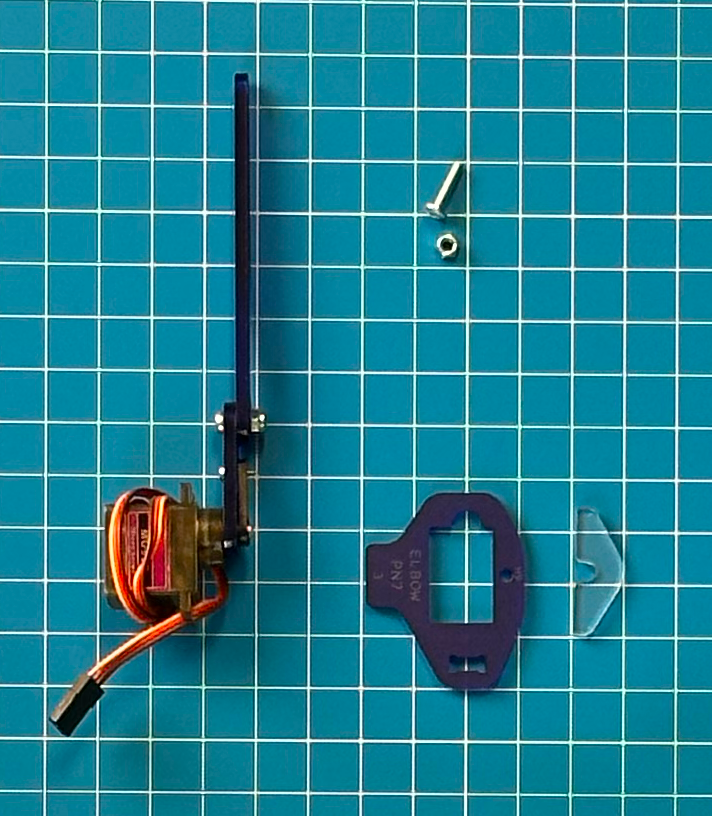
- Lower Arm Subassembly B (PN9 with servo + PN10)
- PN7 – Left Servo (Elbow) Clamp Plate
- Clear Spacer
- Turret Assembly
- One M3x12mm screw
- One nyloc nut
Securing Lower Arm Subassembly B to the Turret
Follow the steps below to attach and secure the subassembly to the turret:
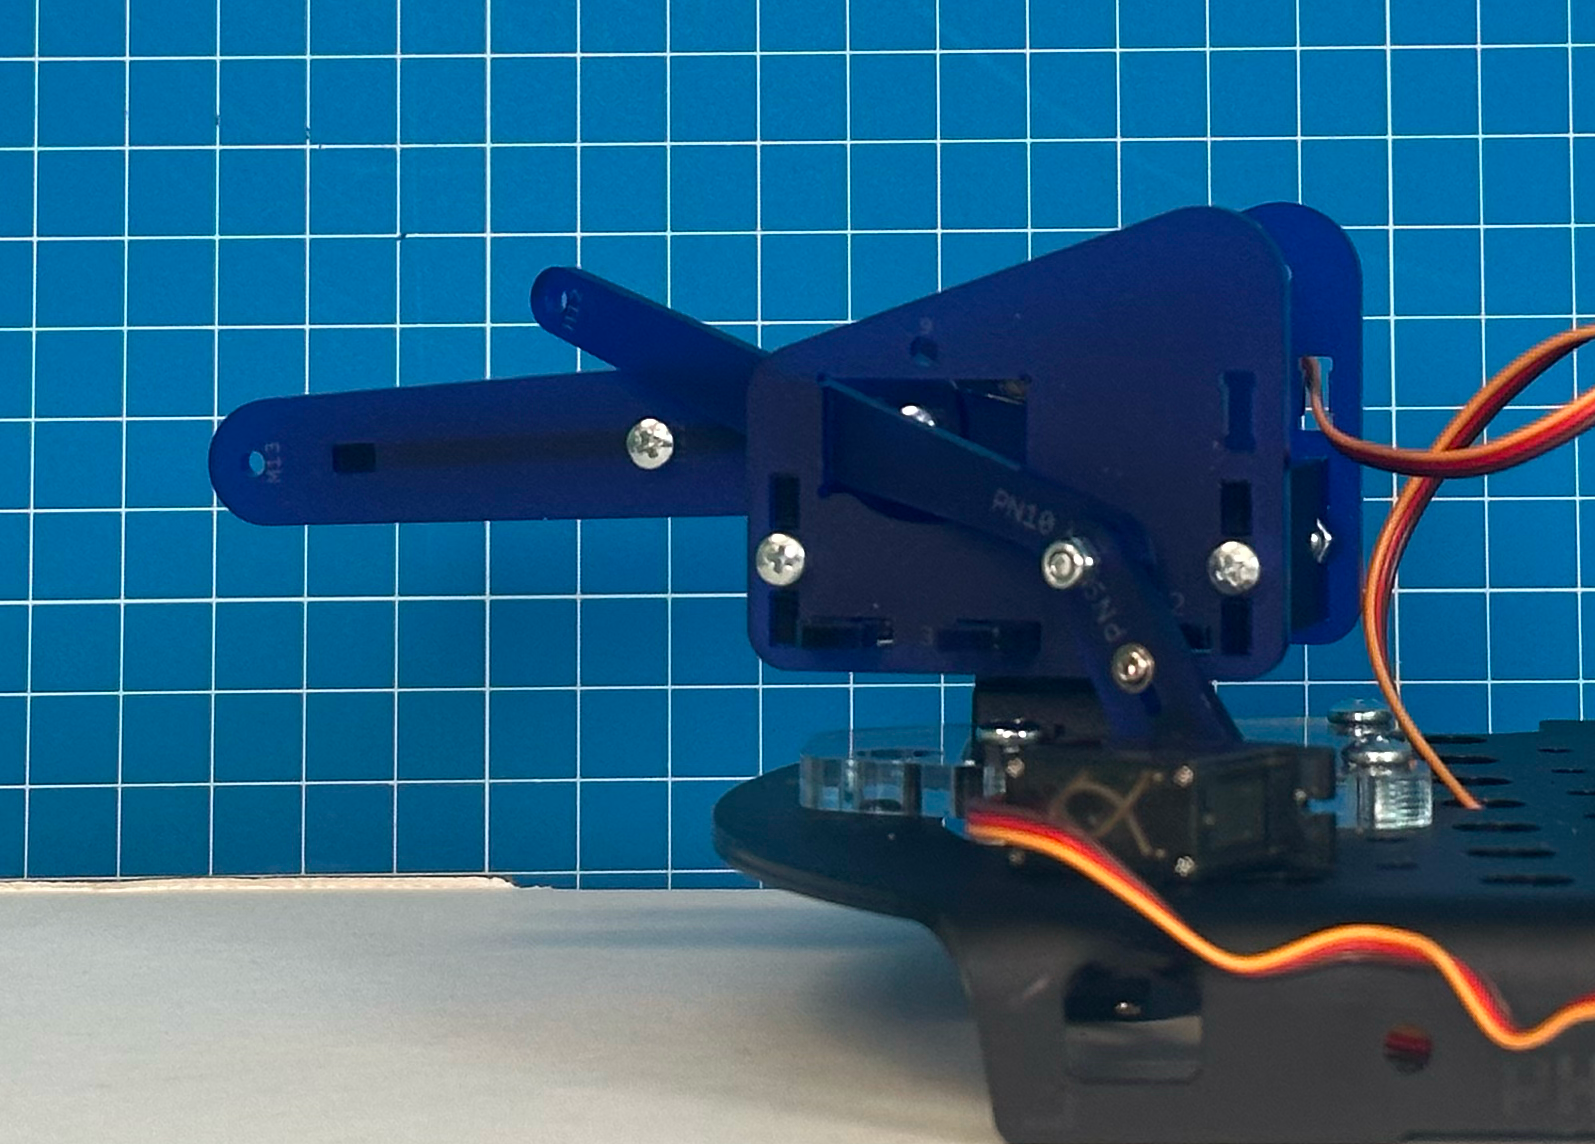
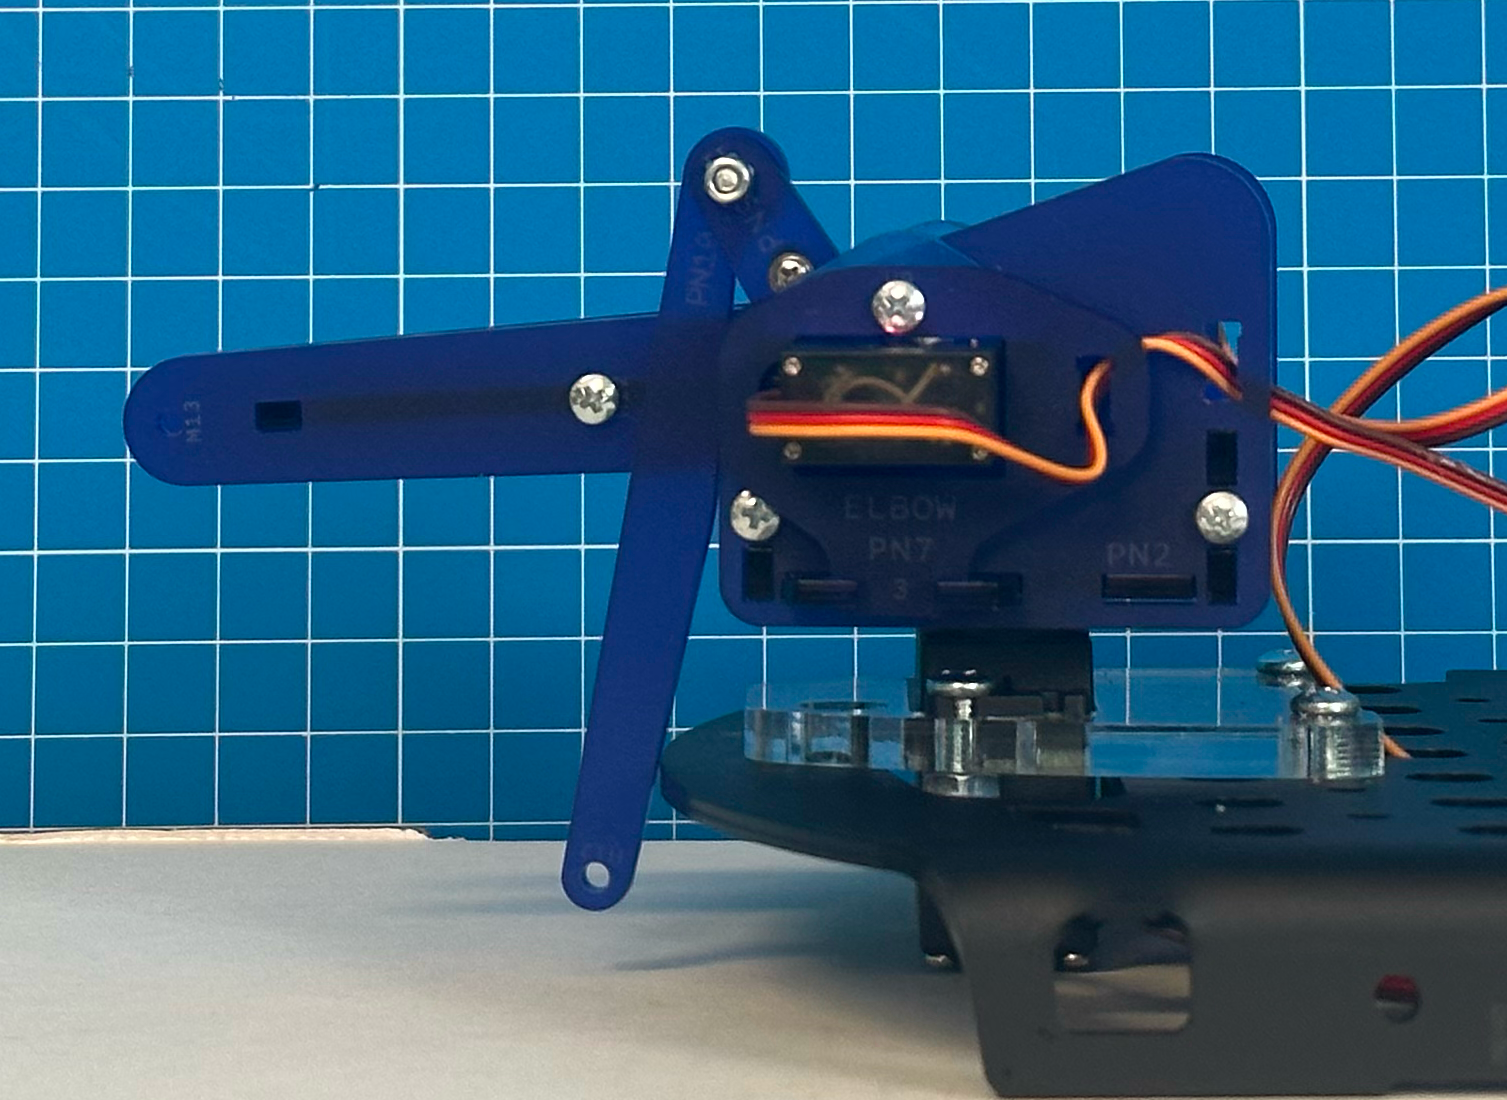
- Insert the Lower Arm Subassembly B into the rectangular hole on PN2 on the left side of your robot.
- Ensure that the notch on the subassembly is facing down and the servo’s wires are facing forward.
- Thread the servo wires through the rectangular hole on PN7 and the dogbone.
- Slide tab 3 on PN7 into slot 3 on the turret at an angle. Make sure not to crimp any wires or use too much force. The plate should be snug but can crack if too much force is applied.
- Insert an M3x12 screw at joint H9 on PN7 and through joint 9 on PN2 of your turret.
- Slide your spacer between PN7 and PN2 to make sure you don’t overtighten.
- Tighten the nyloc nut making sure not to overtighten or break the plates.