Building the Upper Arm Subassembly
In this section, you will continue to apply mechanical skills while assembling the robotic arm. You will begin to build the upper arm subassembly of the robotic arm. This section will also require the use of the tabbed joint assembly method.
Parts and Hardware
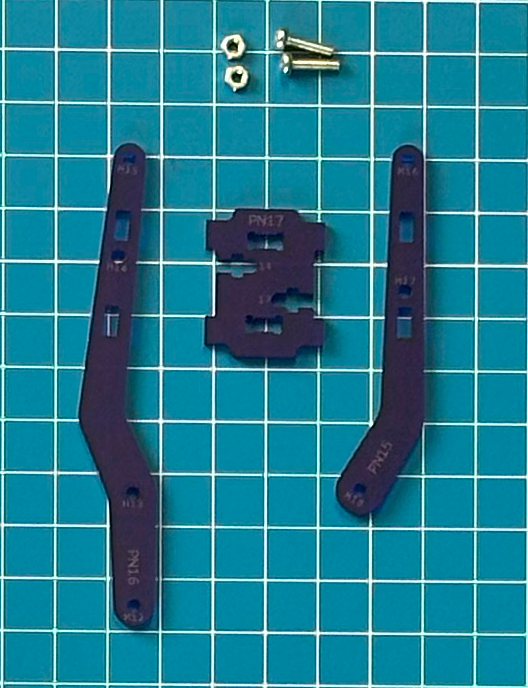
Find the following parts and hardware:
- PN16 – Upper Arm Left Link
- PN17 – Upper Arm Spreader
- PN15 – Upper Arm Right Link
- Two M3x12mm screws
- Two standard hex nuts
Building the Upper Arm Subassembly
Follow these steps to complete the subassembly:
- Prepare the Upper Arm Right Link (PN15) by preloading joint 17 making sure the head of the screw is on the side marked “H” and start the hex nut.
- Prepare the Upper Arm Left Link (PN16) by preloading joint 14 making sure the head of the screw is on the side marked “H” and start the hex nut.
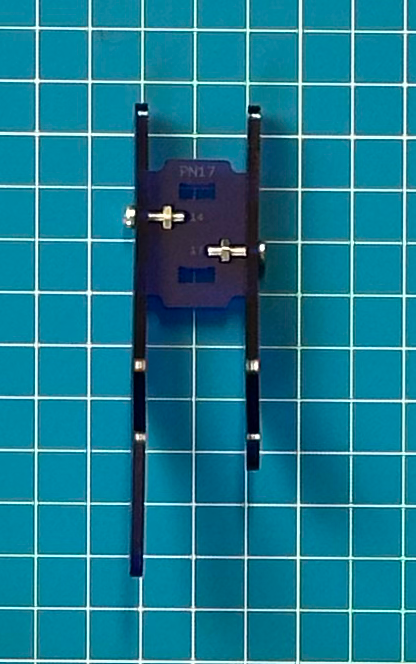
- Match the joint numbers to attach PN15 and PN16 to the Upper Arm Spreader (PN17).
- Gently tighten the screws to secure the three parts together. Make sure they are snug but do not overtighten.