
Parts and Hardware Overview
Parts and Hardware Overview
Follow along as we explore the Betabox Electrician Foundations and Futures Hands-On Project Box!
Component Name
Picture
Description
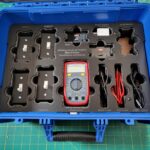
Betabox Electrician Foundations and Futures Hands-On Project Box
This handy case holds everything you need for your course! Storing your materials properly ensures they are easy to find during the next lesson and do not get damaged in the meantime.
Project Box with open lid
Upon opening the box, you will find a few pieces of foam. Set them aside but do not lose them. They help keep things in place during shipment.
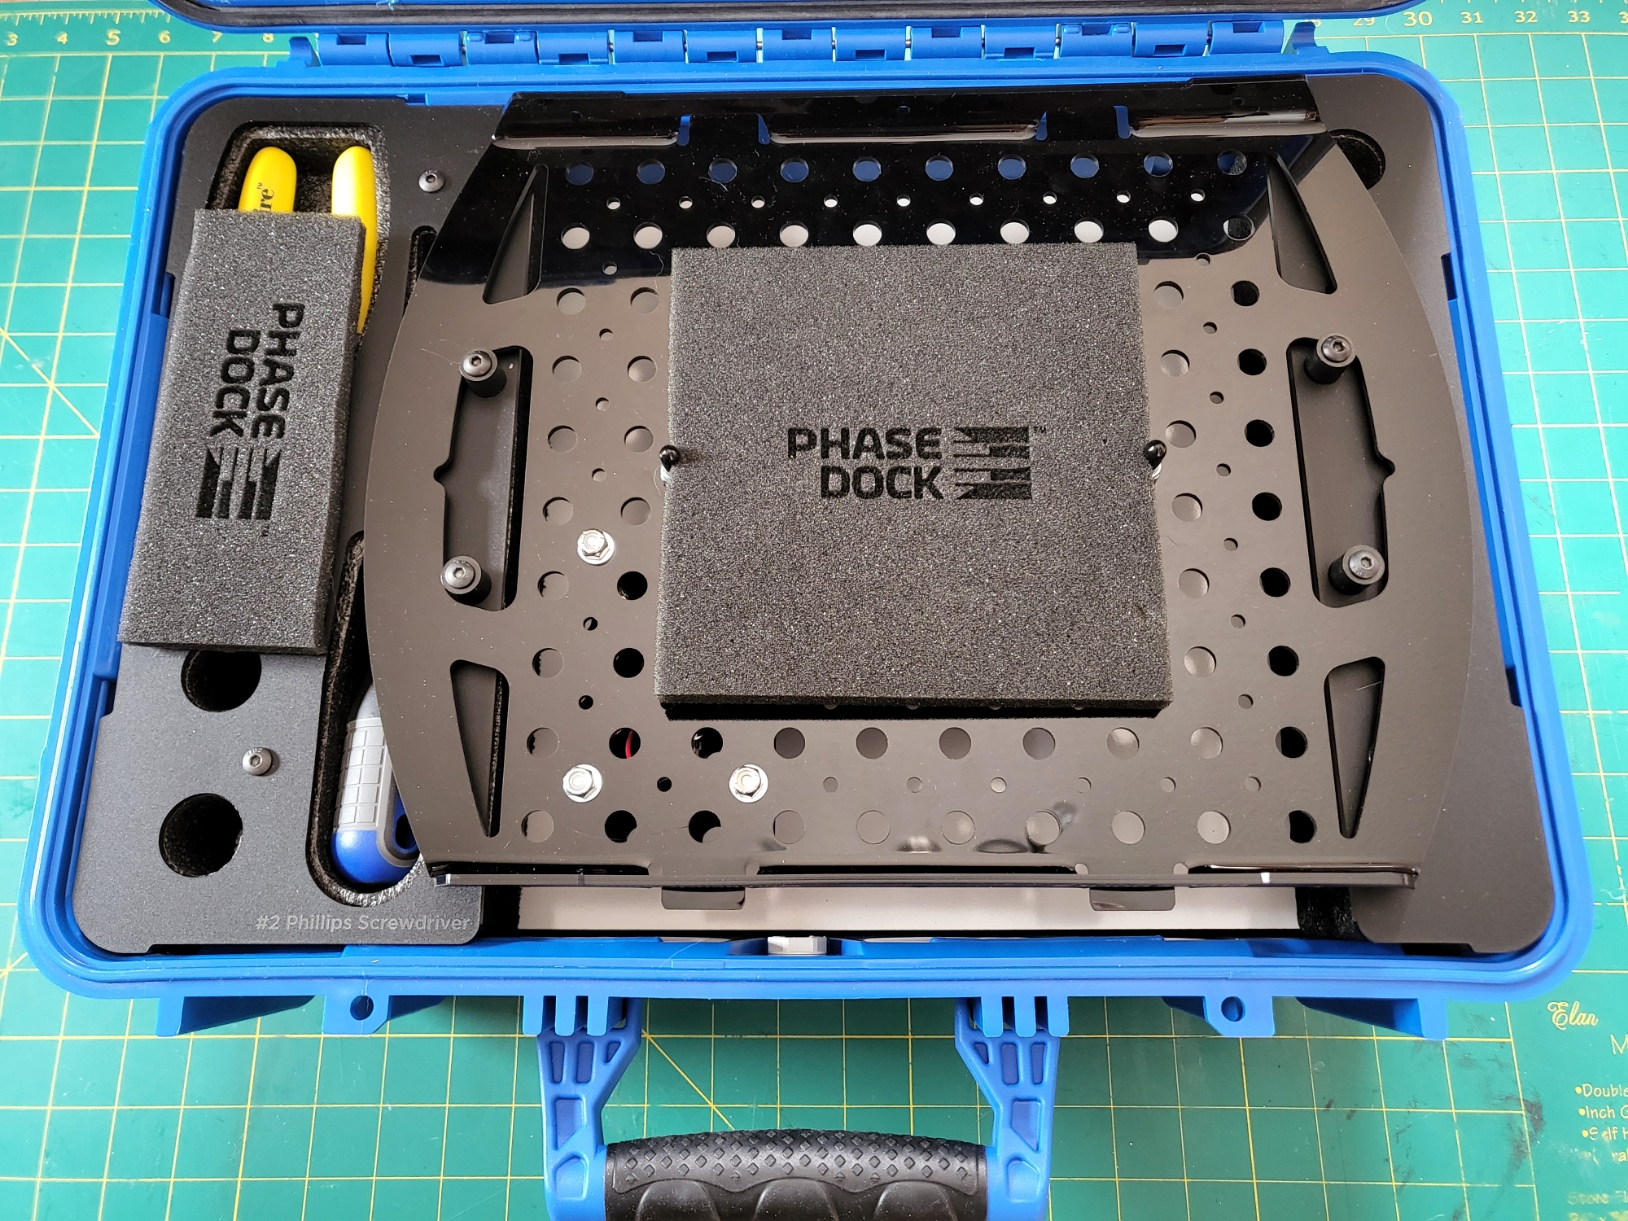
Project Box with Foam Removed
Here are the materials in their stowed position at the top of the box.
Let’s take them out!
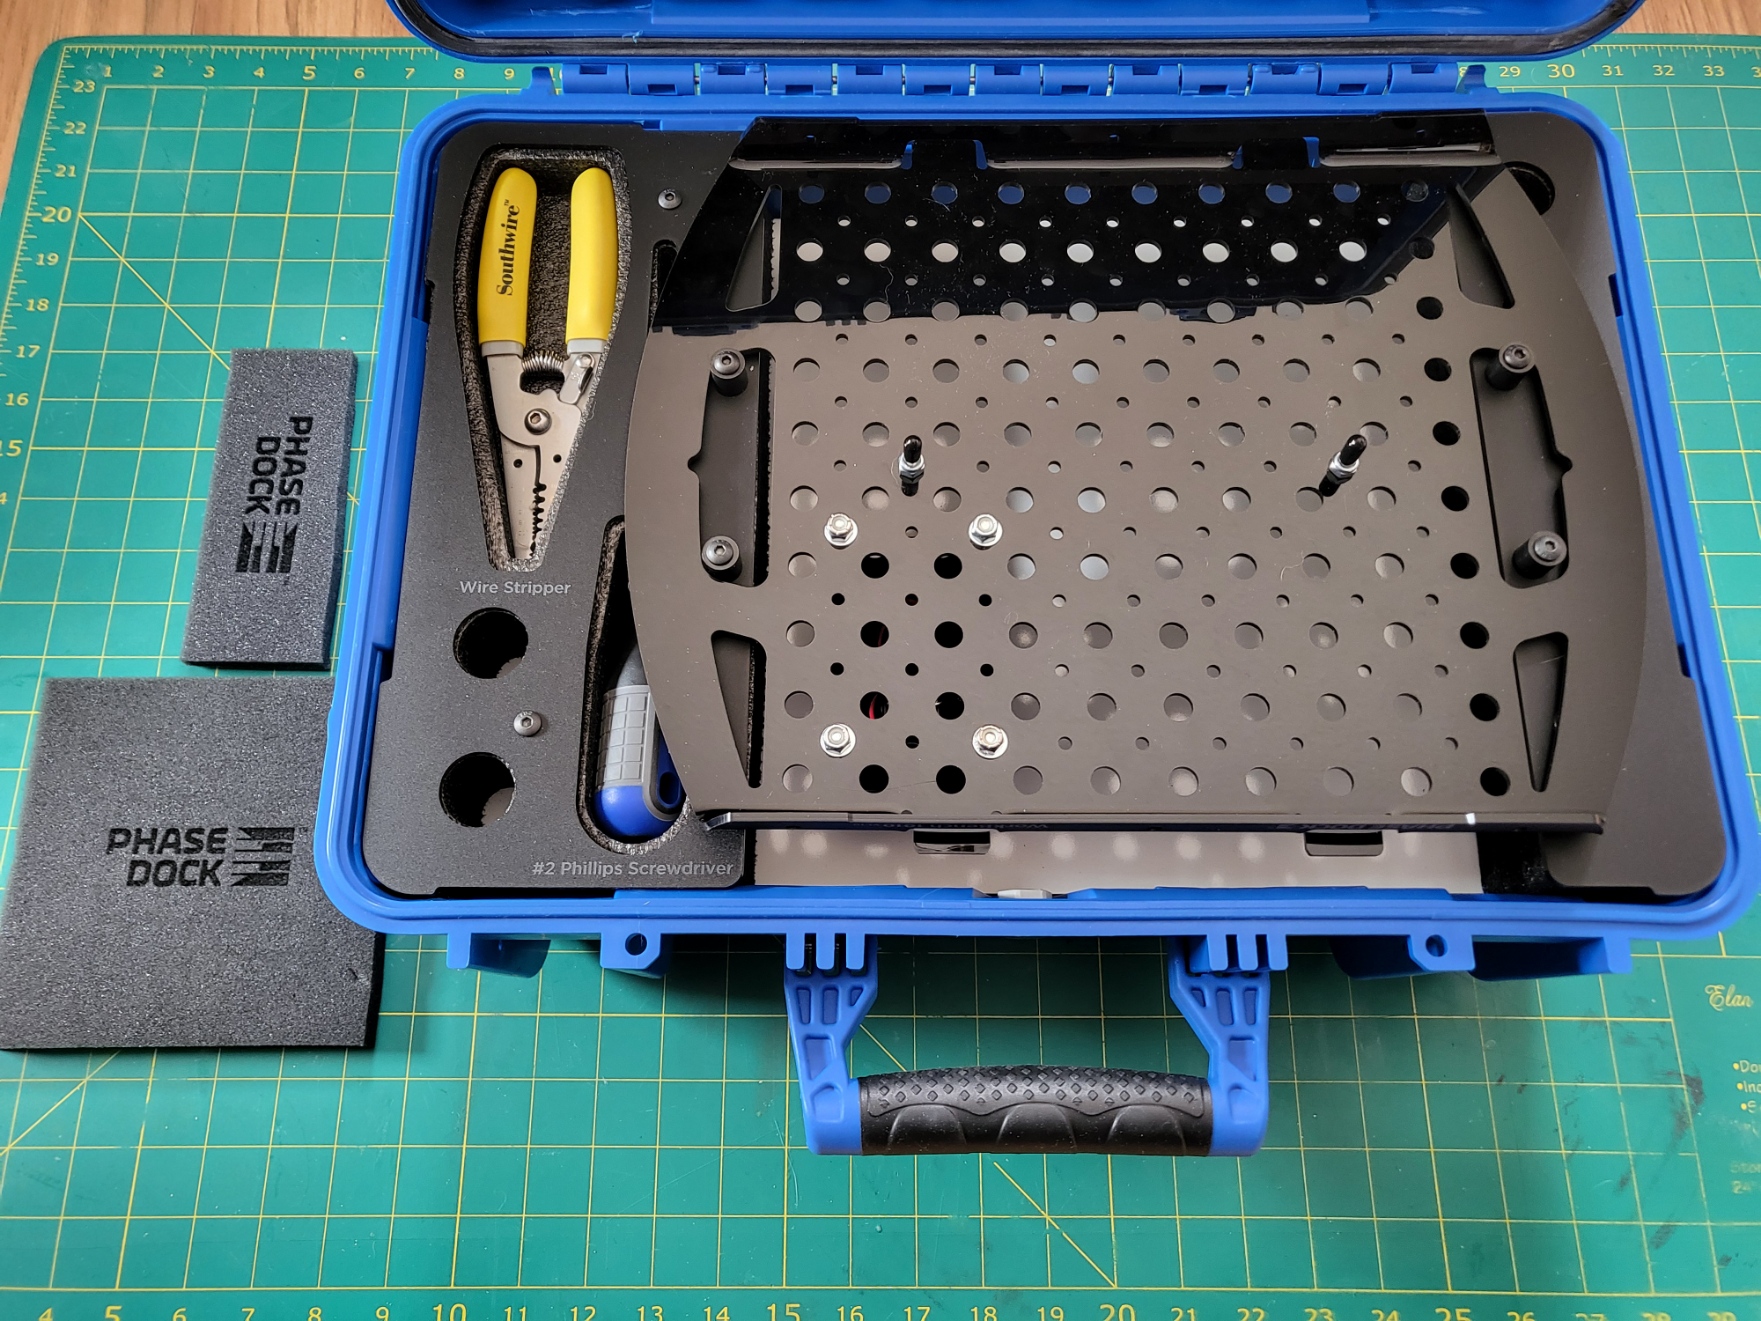
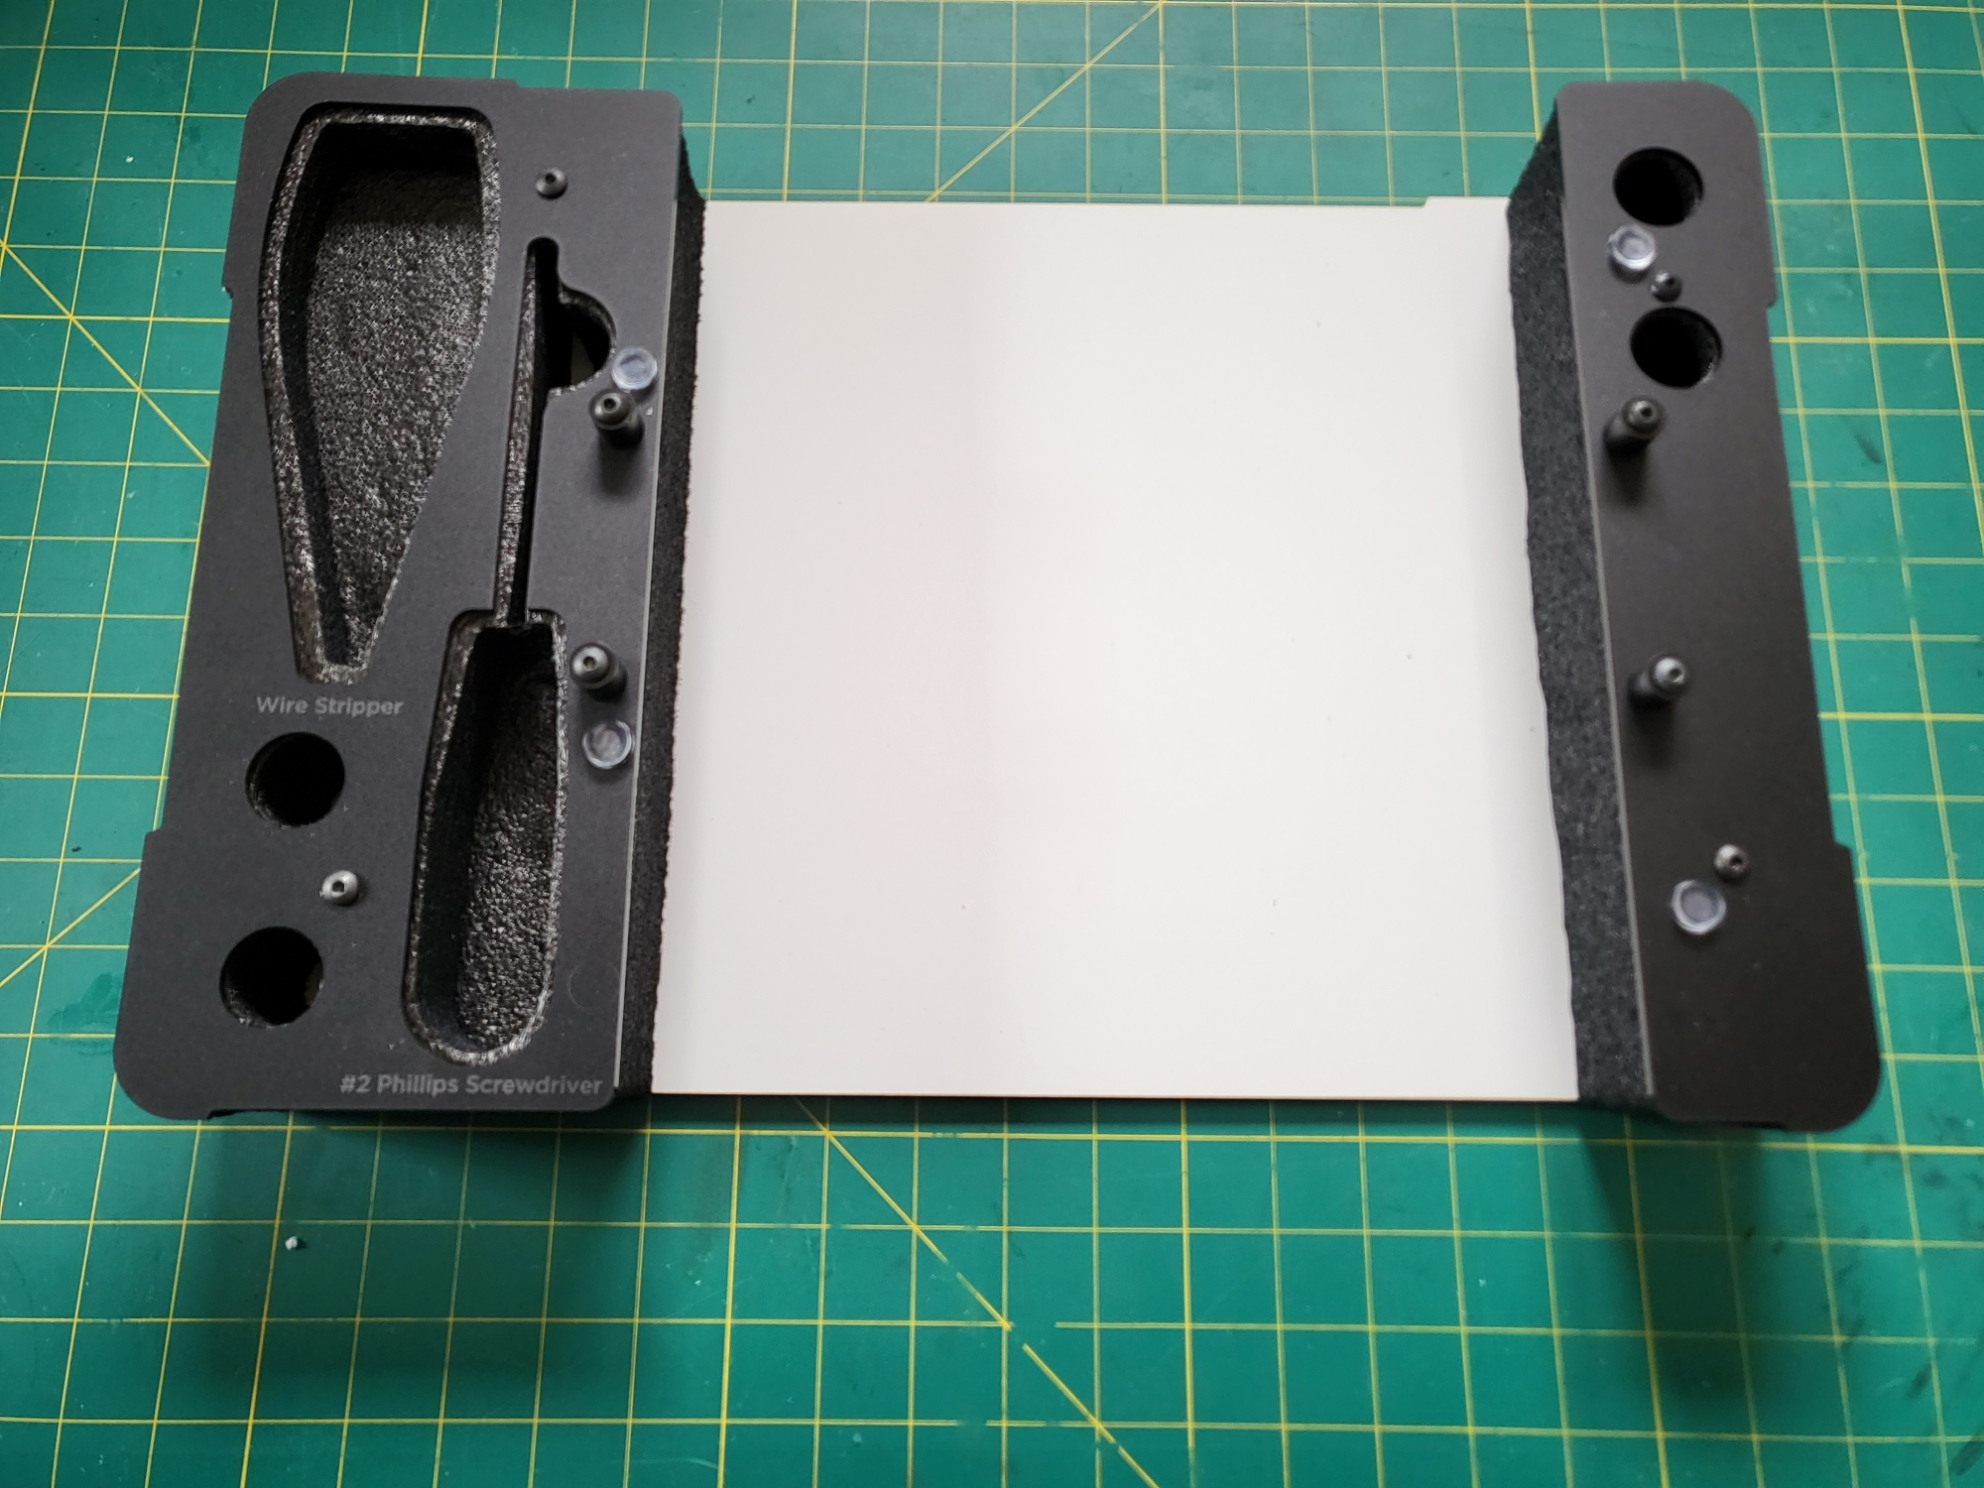
Materials in the Project Box top
Here are the materials from the top of the box. From left to right you have the wire strippers, the screwdriver, and then the WorkBench with the Load Center permanently attached.
Wires and Nuts
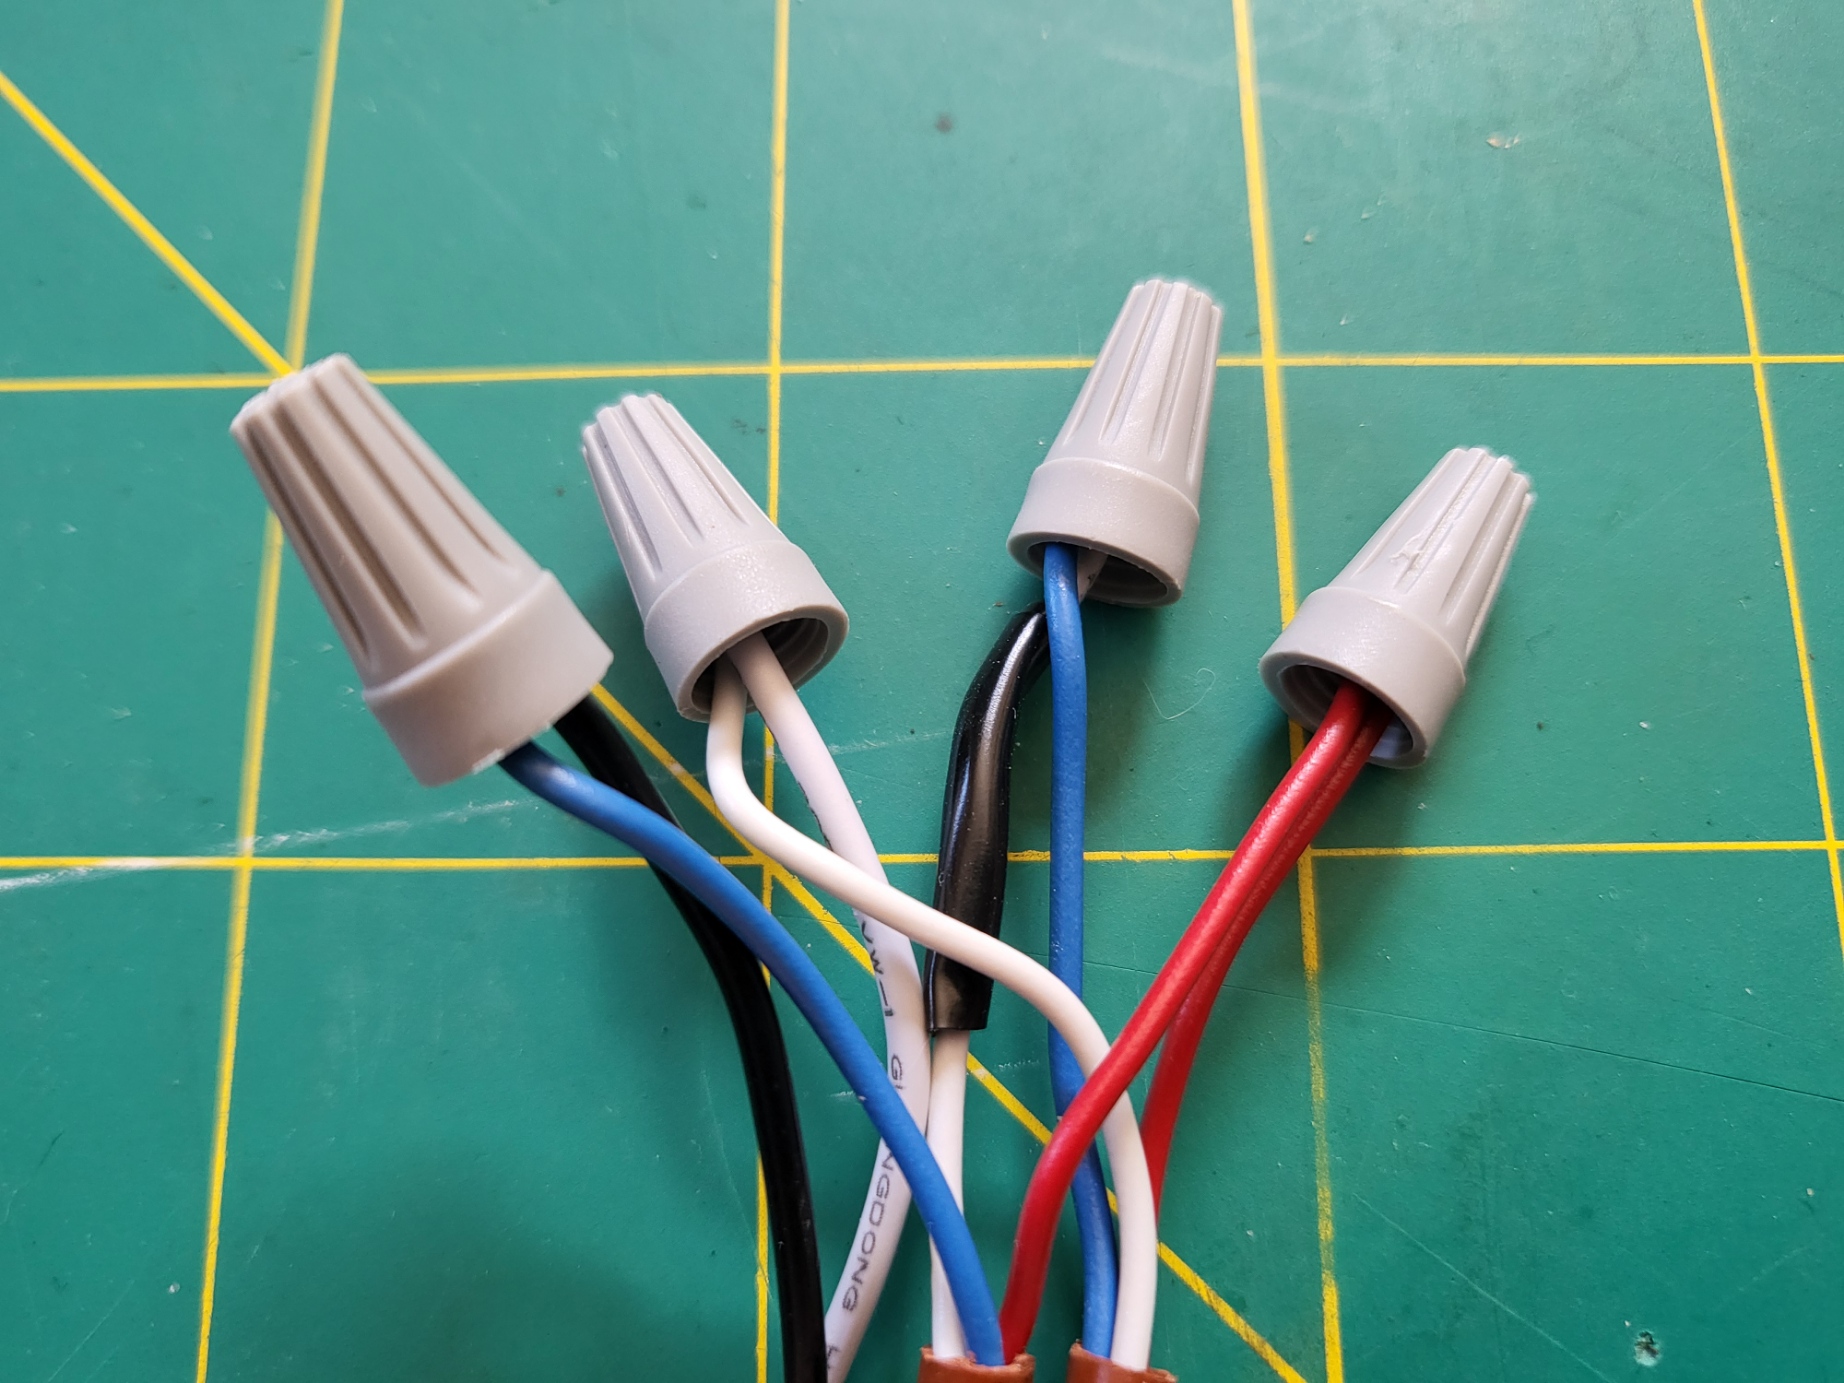
Under the WorkBench, you will find an assortment of wires, cables, and wire nuts to connect the components within the kit.
Divider between the Project Box top and bottom
The box divider can be removed to access the materials underneath.
Project Box bottom
Placeholder Image until final laser cutting is available
The bottom of the project box has a wide assortment of components and tools, let’s jump in and look at them!
Materials of the Project Box bottom
Placeholder Image until final IoT clicks are available
Here are all of the materials from the bottom of the box.
Switches Front

The four switches are different. The top two have an on/off label on the switch toggle (white part) while the bottom two are 3-way switches that do not have labels.
Switches Back
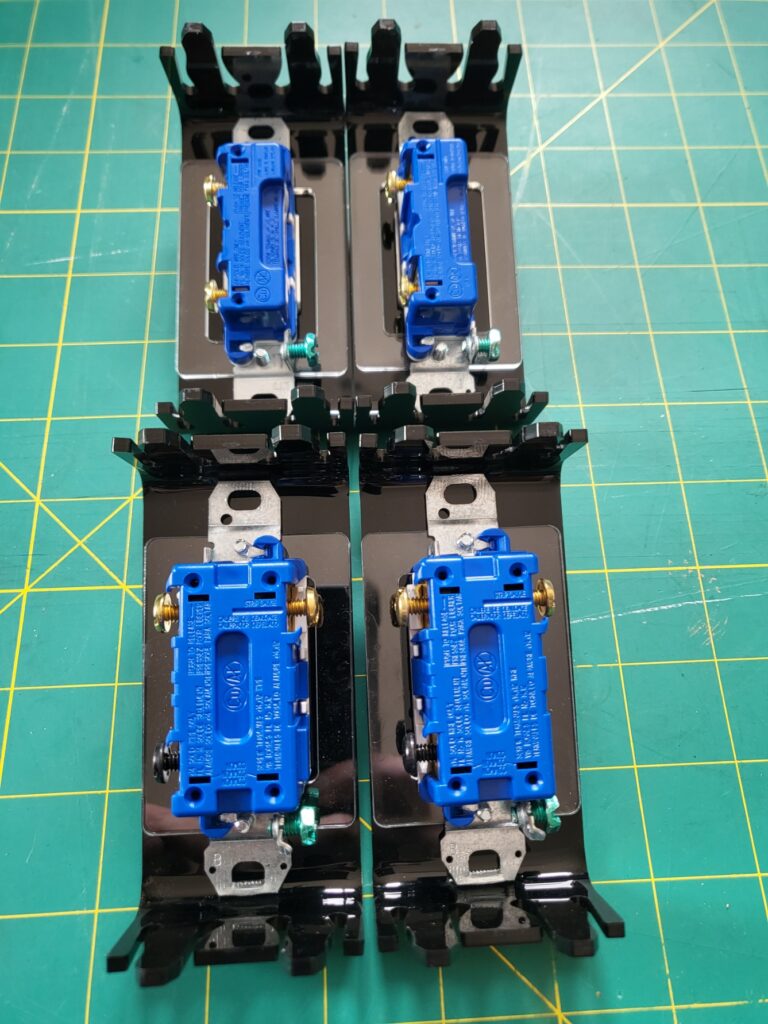
The backside shows a little more difference between the two different kinds of switches. The ones that are labeled on/off only have two terminals (brass screws) and a ground (green screw).
The ones on the bottom are the 3-way switches which have three brass terminals and one green ground terminal.
LEDs Front
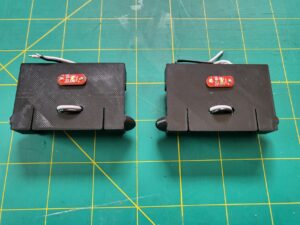
The LEDs or Light Emitting Diodes are attached to a Click
LEDs Back
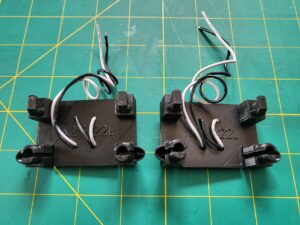
The back of the LEDs shows the ‘pigtail’ or wires that are connected to the LED
Outlet
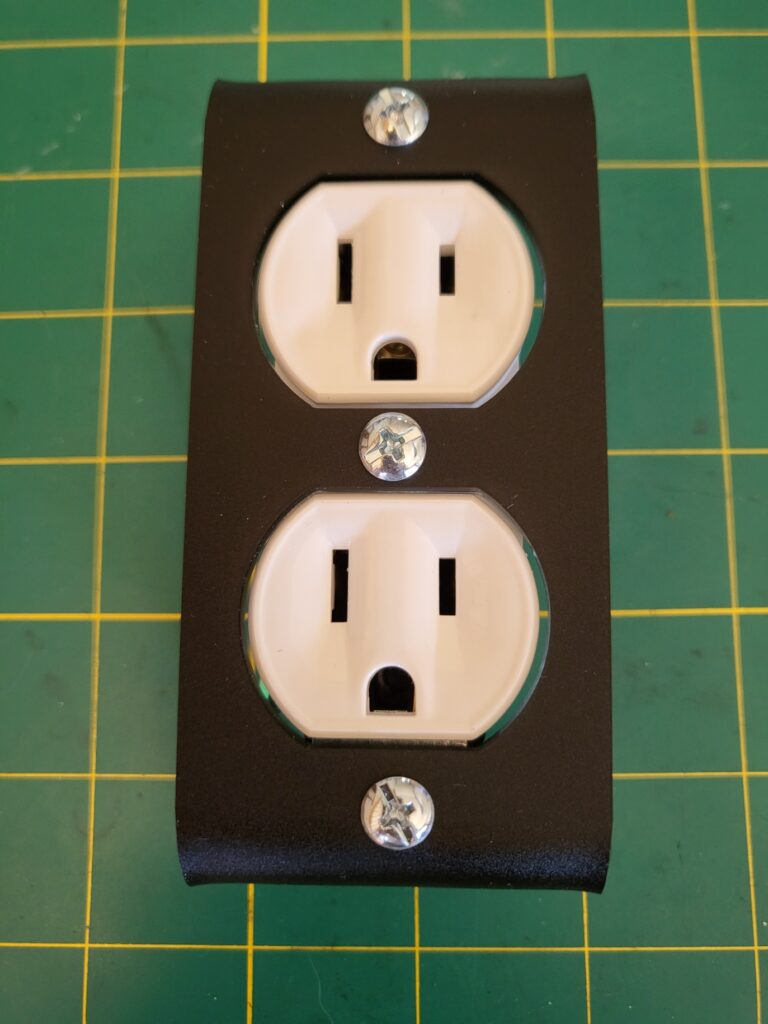
This outlet is a convenient way to connect your electric devices to the wiring in your house.
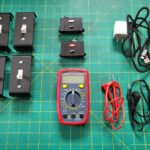
USB Cable and Power Block
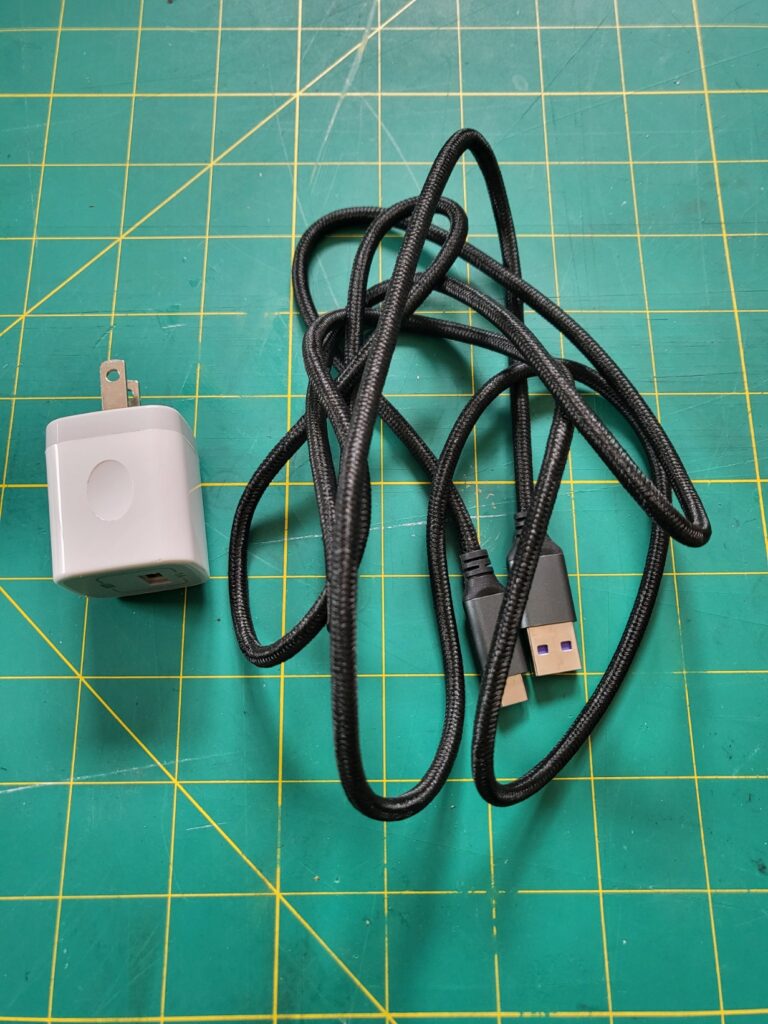
If you’ve ever charged a phone, this device is probably very familiar to you. The power block converts the power from your outlet to a safer form of energy which is used in the kit.
Digital Multimeter
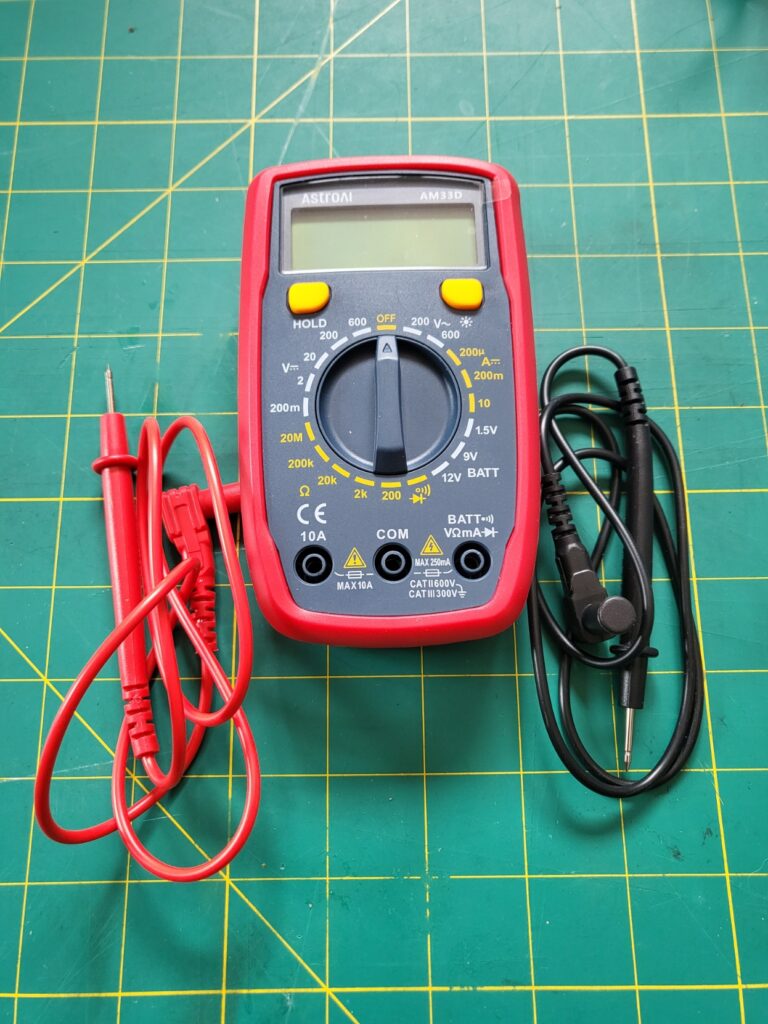
The multimeter is several tools in one (hence the ‘multi’ part). This tool is used by electricians to check for proper voltage, measure resistance, check continuity, and measure current.
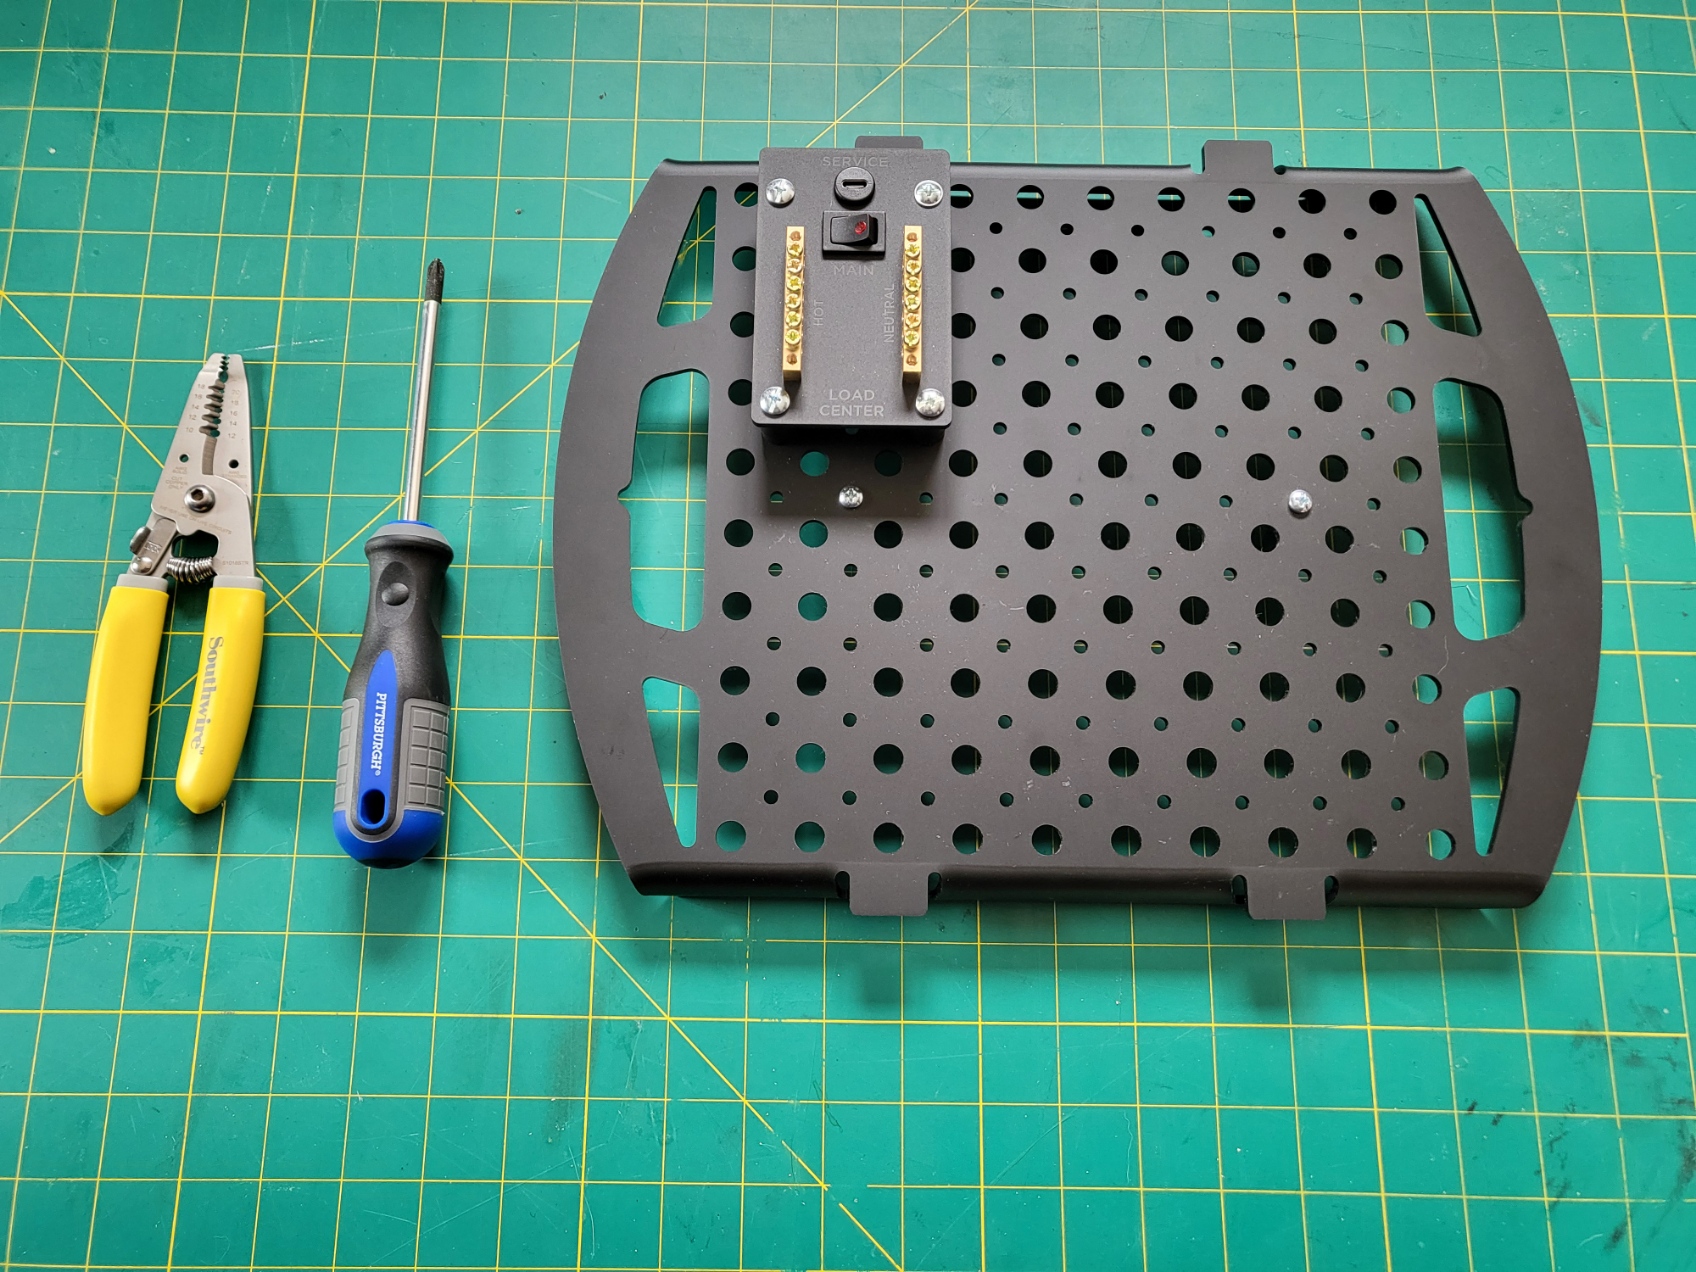
Tools of the Trade
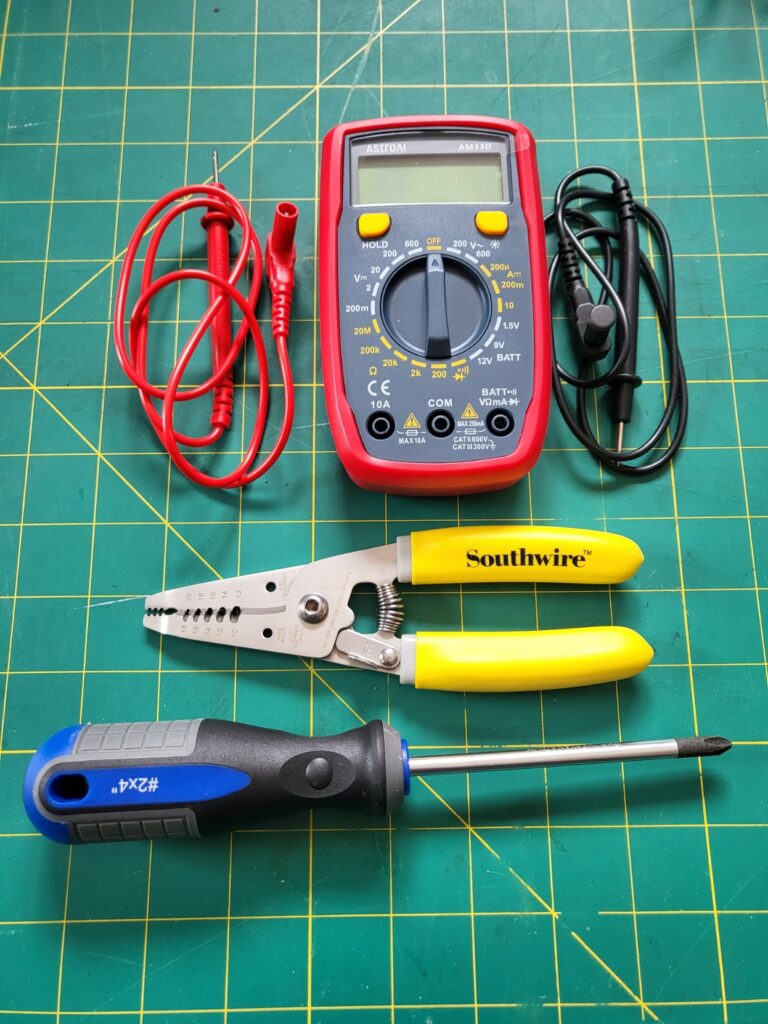
Here are the main tools used in the kit together; the Digital Multimeter, the Wire Strippers, and the Screwdriver.