Attaching the Lower Arm Right Link to The Turret
In this section, you will be attaching the Lower Arm Right Link to the turret. This will help serve as the shoulder servo and allow your arm to move in the Y axis, or forward and backward.
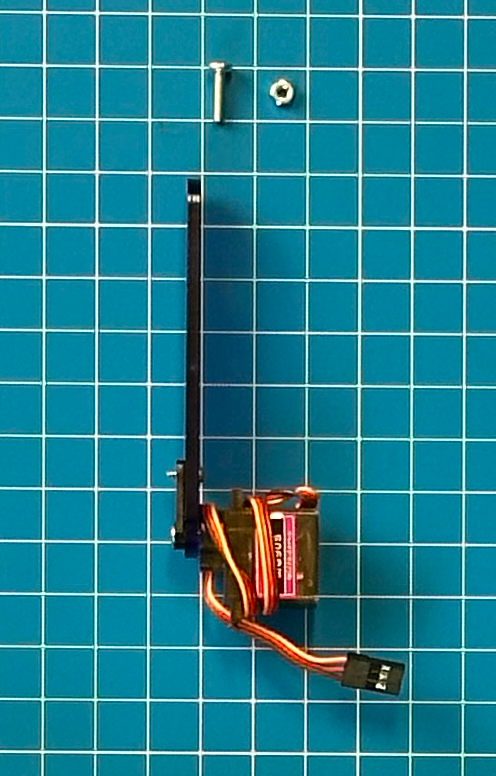
Parts and Hardware
- PN11 – Lower Arm Right Link with servo
- Turret Assembly
- One M3x12 screw
- One standard hex nut
Reminder!
With pre-assembled components, DO NOT TURN THE SERVO or THE ATTACHED PARTS UNLESS OR UNTIL THE INSTRUCTIONS TELL YOU TO DO SO. You might break or damage the servos if you turn the parts too far. Adjust the parts as little as possible when necessary for the installation.
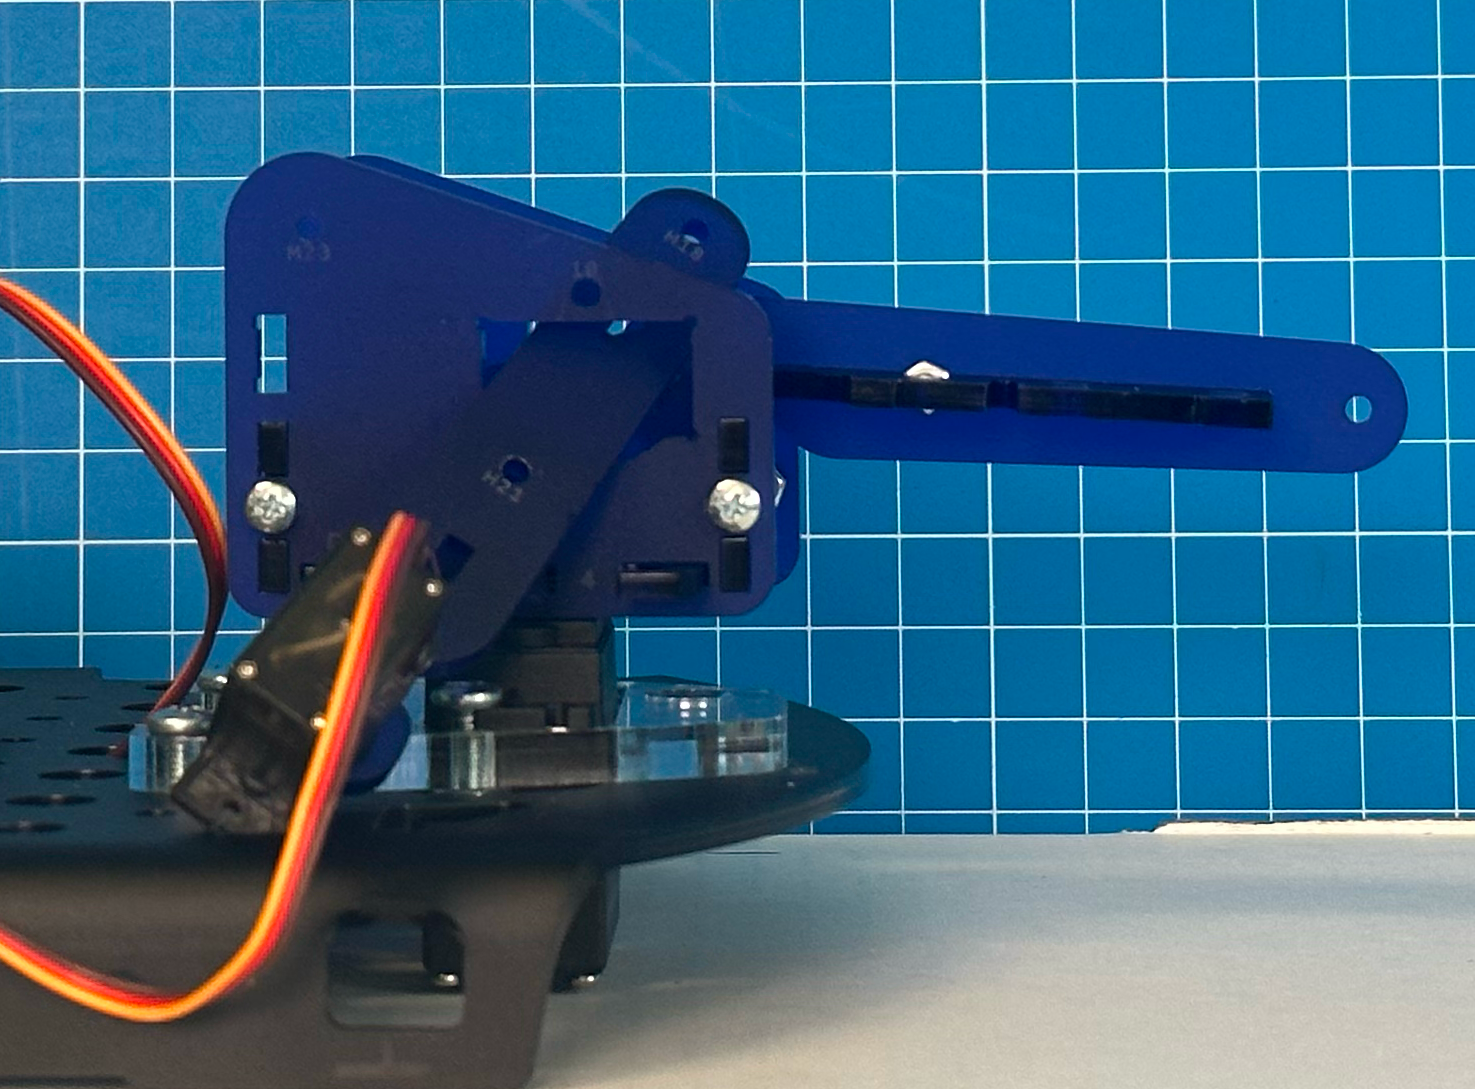
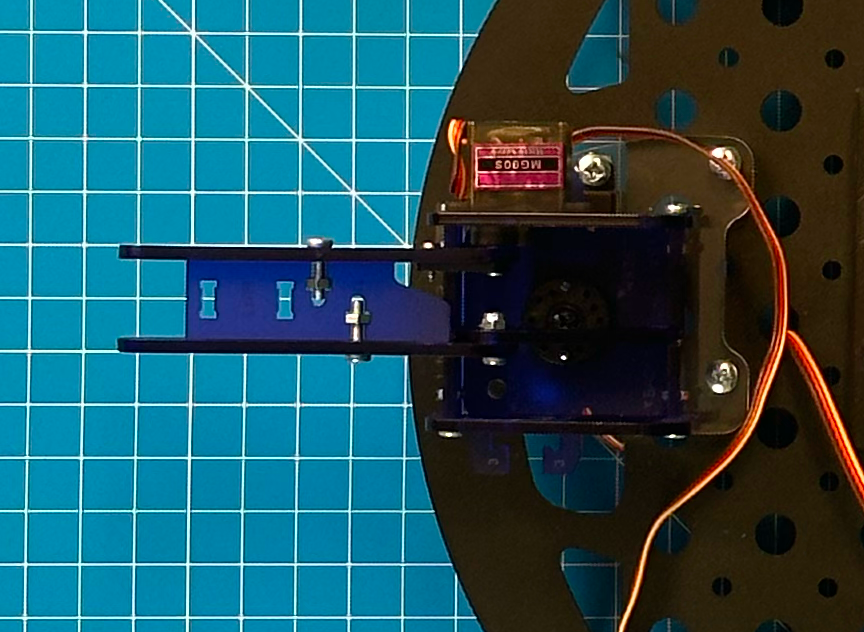
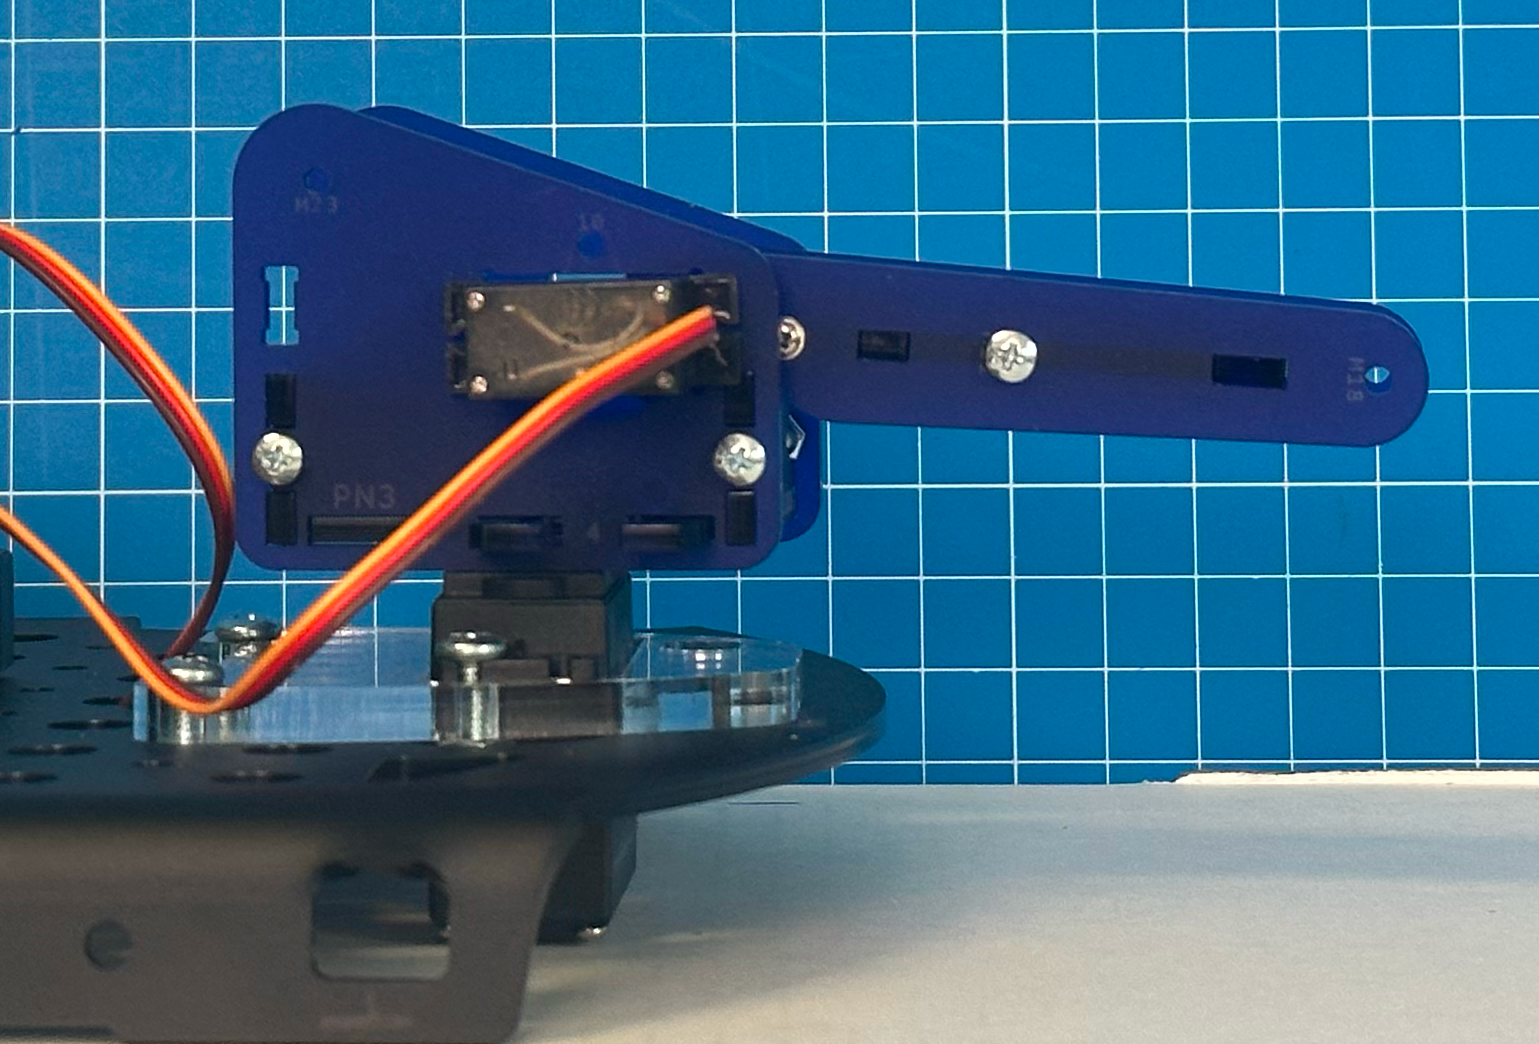
Attaching the Lower Right Arm Link to The Turret
Follow these steps to attach the Lower Arm Right Link to the turret:
- Insert PN11 into the rectangular hole on PN3 on the right side of your robot.
- Ensure that the notch is facing down and the servo’s wires are facing forward.
- Preload joint H21 on PN11 with an M3x12 screw and start a standard hex nut.
- Match up joint H21 on PN11 to joint 21 on PN12 making sure to align the tabs.
- Tighten the screw until snug but make sure not to overtighten.