Attaching the ESP32 to The Workbench Base
In this section, you will be attaching the ESP32 and the breakout board to the Workbench Base.
The ESP32 is what is known as a microcontroller. A microcontroller is a compact integrated circuit designed to govern a specific operation in an embedded system. A typical microcontroller includes a processor, memory, and input/output (I/O) peripherals on a single chip. Think of it as kind of like the brain and nervous system of the robotic arm.
The breakout board is simply a circuit board that "breaks out" the needed pins on the ESP32 for easier access. This breakout board also handles regulating power and supplying it to both the ESP32 and the robotic arm.
Parts and Hardware
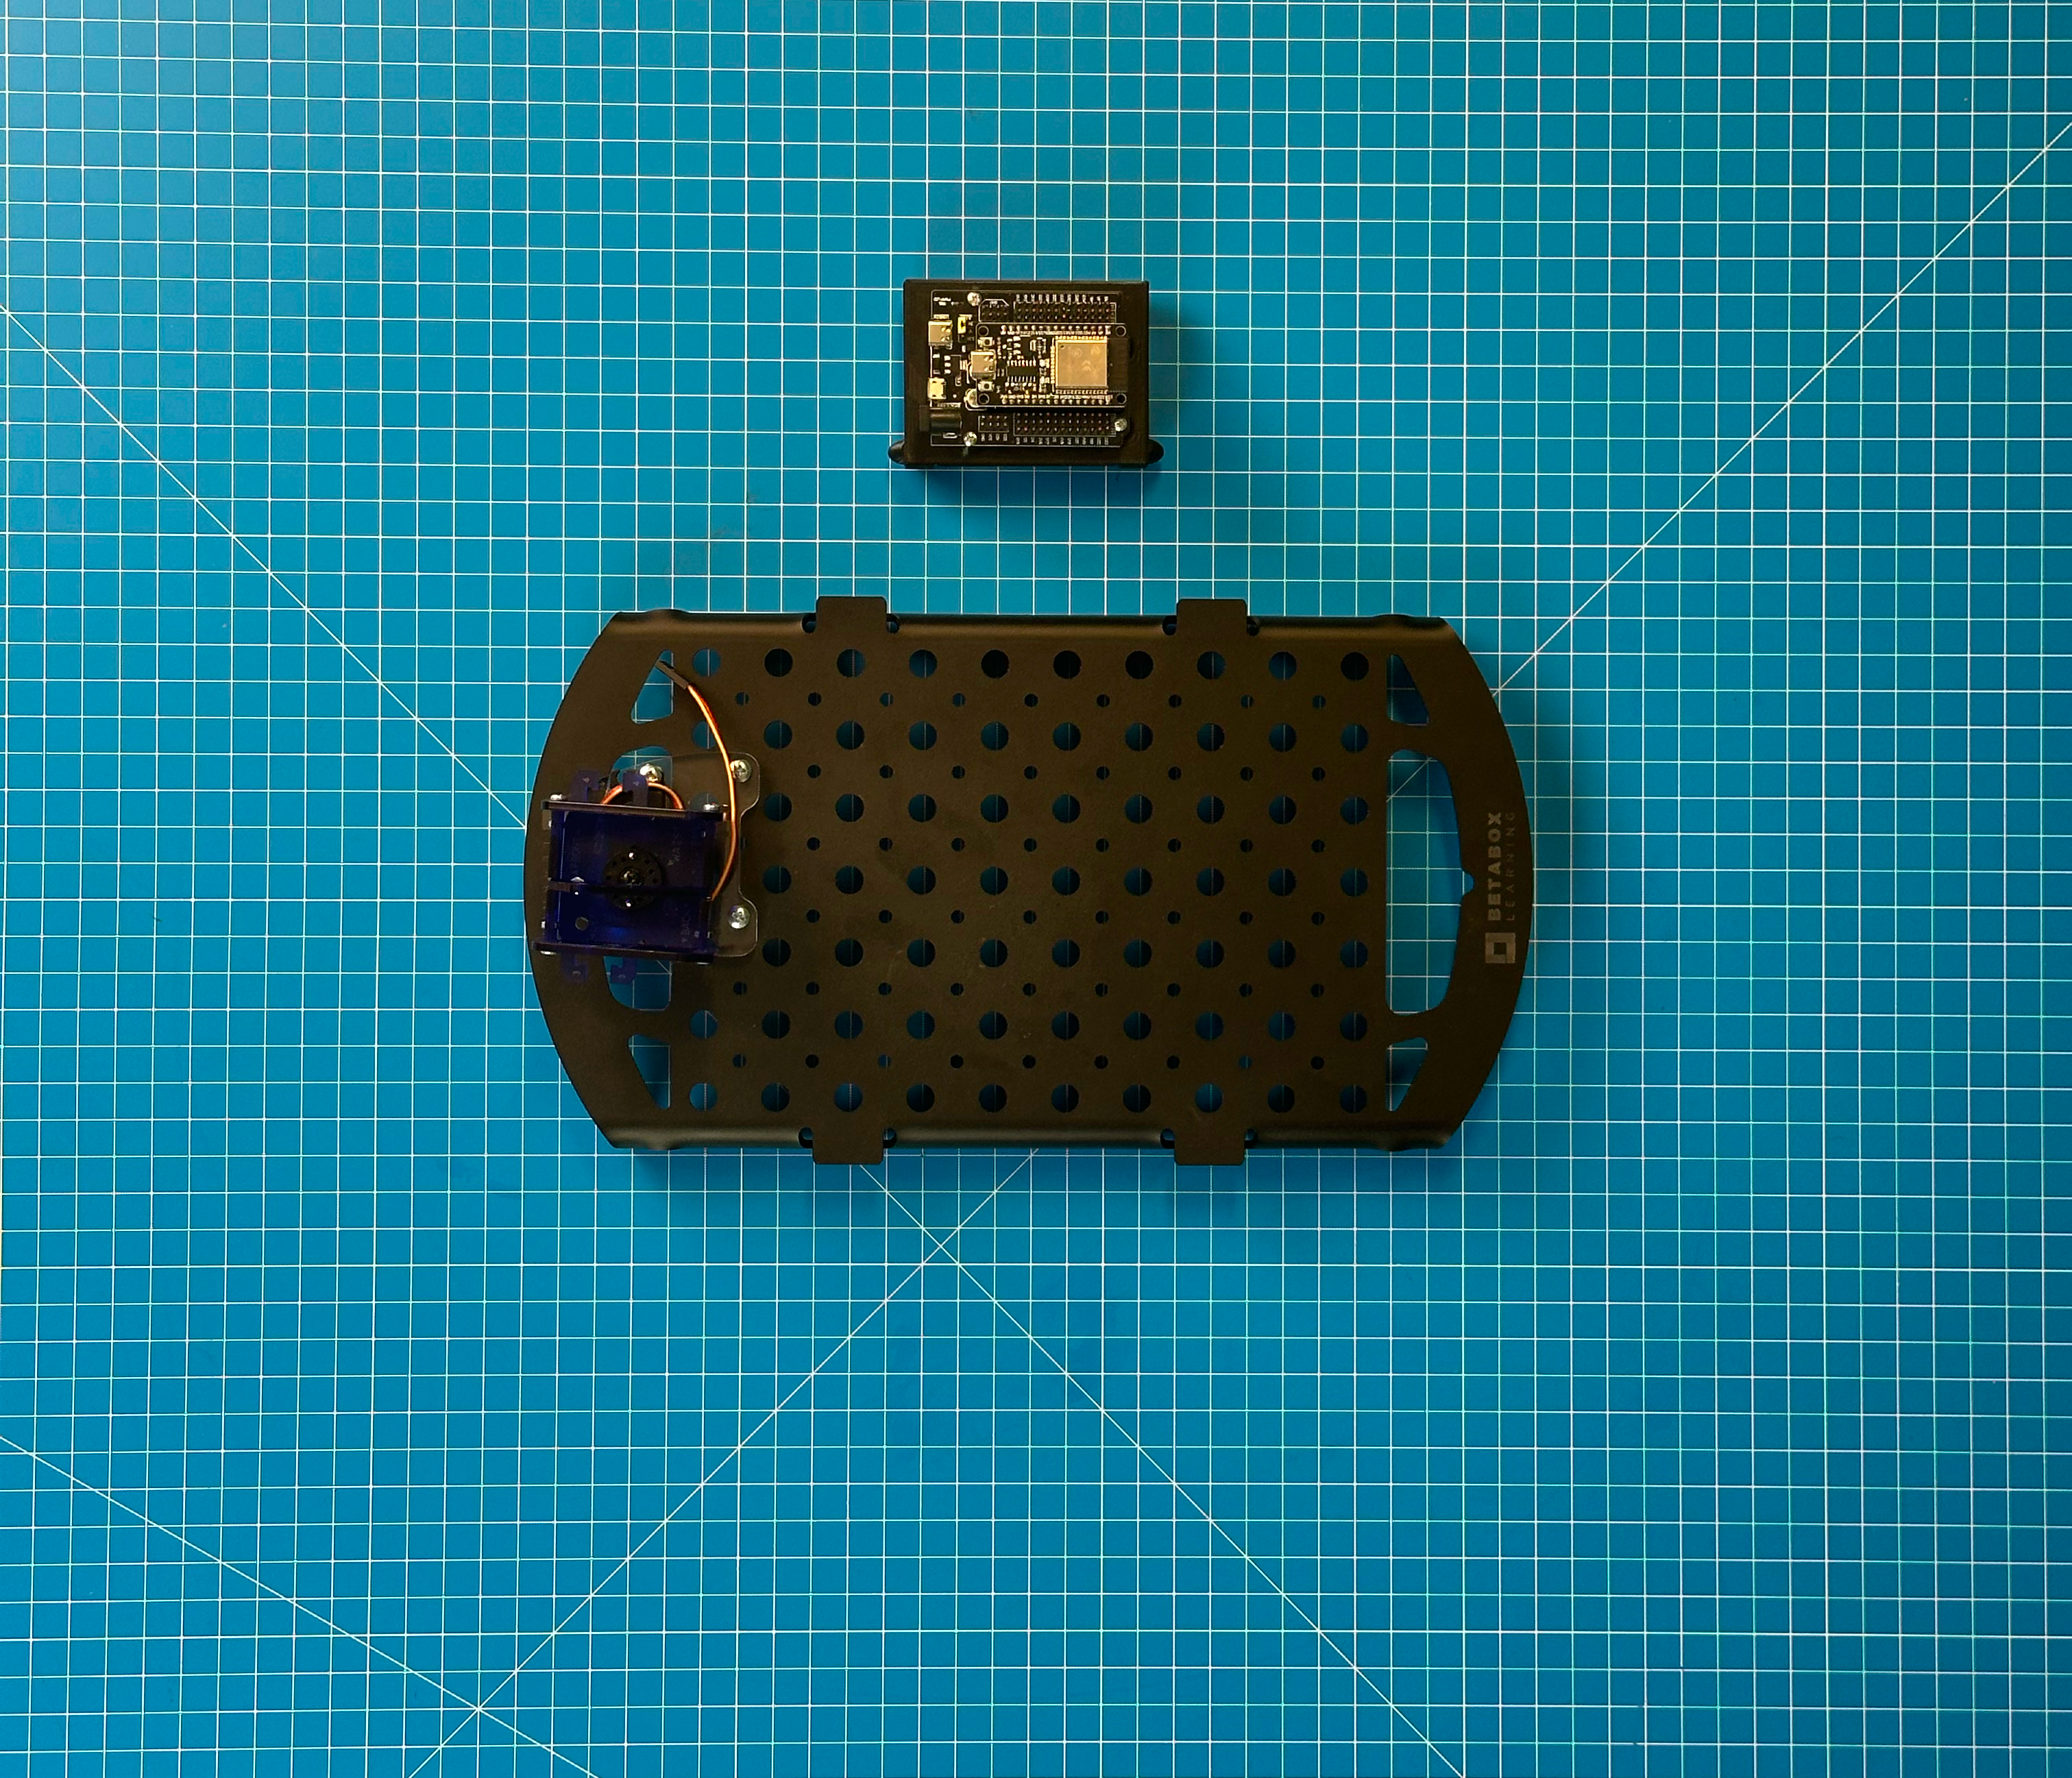
- ESP32 + Breakout Board
- Workbench Base
Attaching the ESP32 to The Workbench Base
Follow the steps below to attach the ESP32 to the Workbench base:
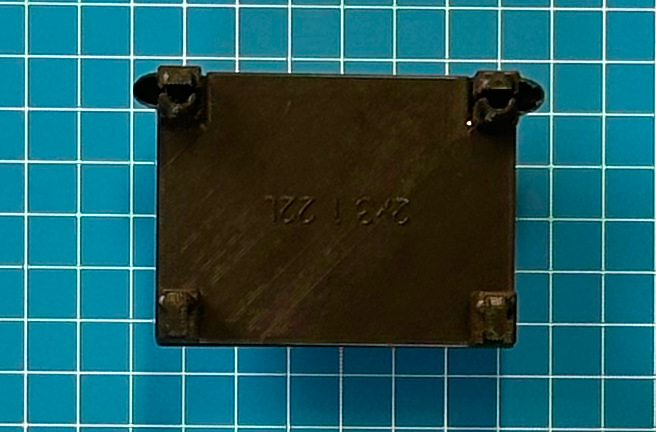
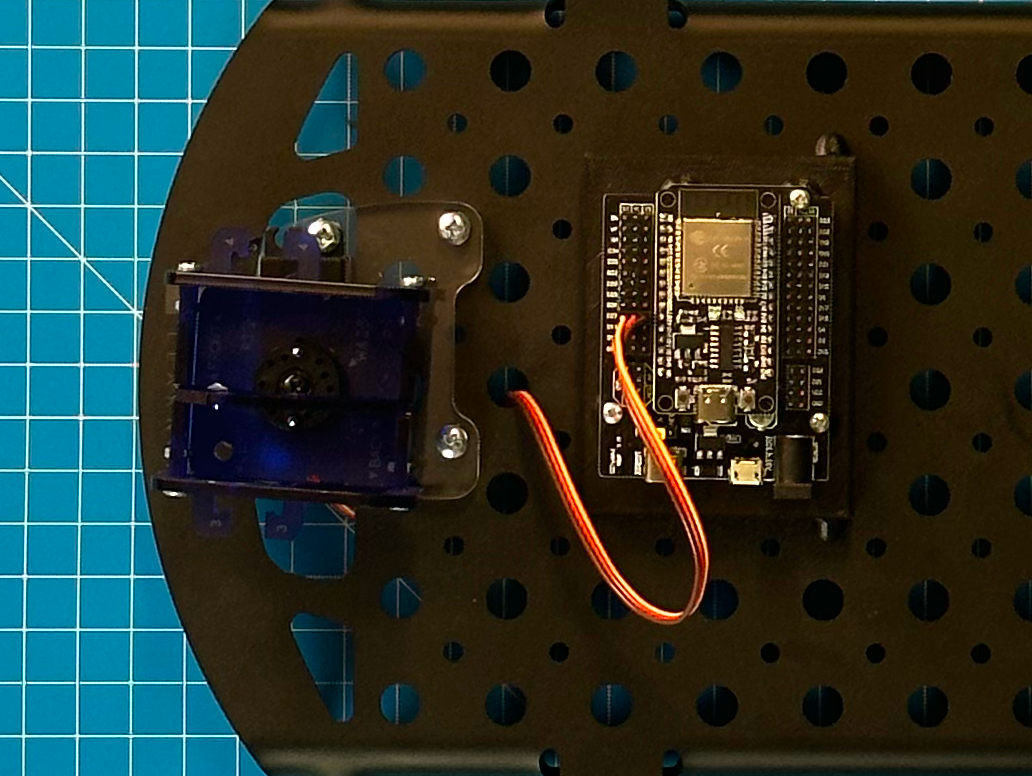
- Snap the ESP32 onto Workbench base with pin D27 facing your robot. Make sure that you insert the "boots" at an angle first and then squeeze the tabs to push down and lock it in place.
Wiring and Testing the Waist Servo
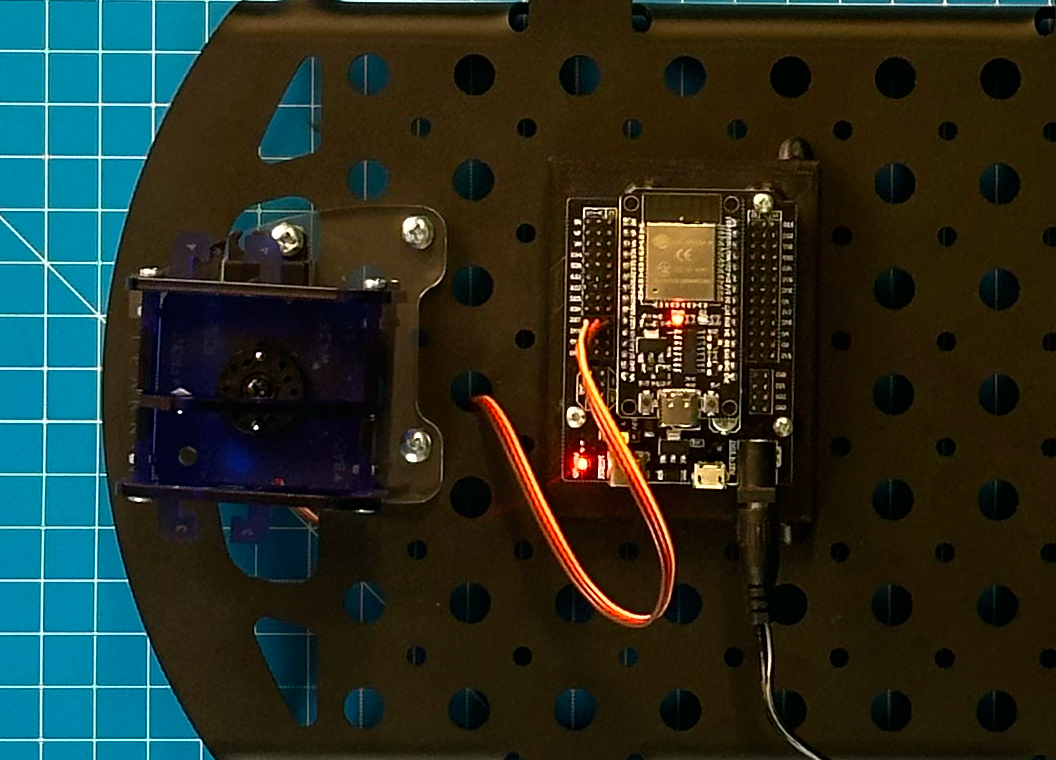
You might have noticed that the above picture shows the servo plugged into the ESP32. Do that now by following the steps below:
- Plug the wires into the ESP32 at the row labeled D27. Pay close attention because the wires have to go perpendicular to the board and with the brown wire closest to the ESP32 or it will not work.
- Plug in the power supply to the wall and the barrel jack into the breakout board.
- After a second, you should notice your turret start to move.
- Observe this motion to make sure everything is moving smoothly.
- Unplug the barrel jack.