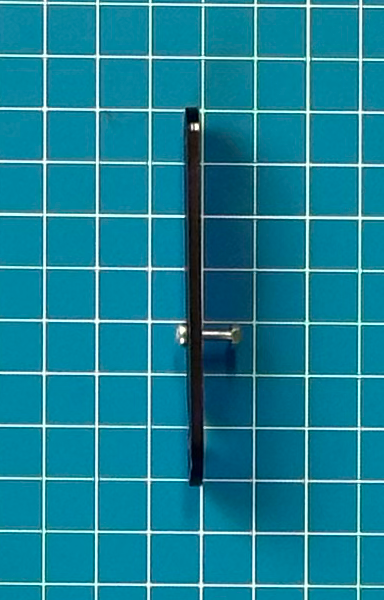
Building The Lower Arm Subassembly A
In this section, you will learn how to apply mechanical skills and carry out test routines while assembling the robotic arm. You will begin to build the lower arm left link, the first subassembly in the robotic arm. You will learn and apply one of the key assembly techniques used throughout the build.
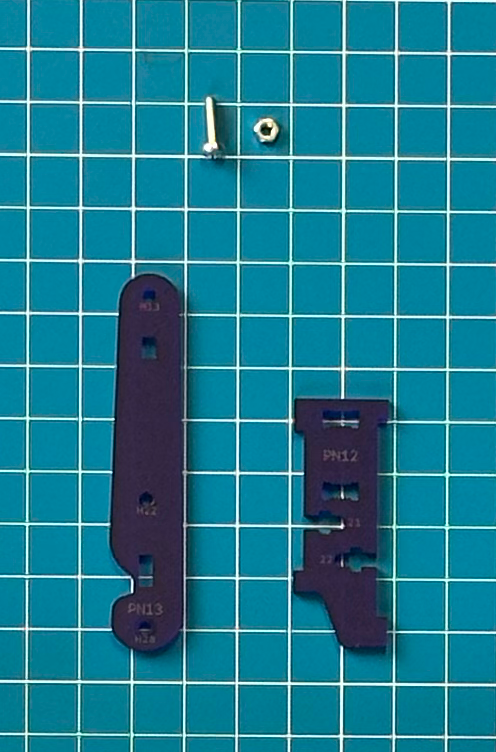
Parts and Hardware
Find the following parts and hardware:
- PN12 – Lower Arm Spreader
- PN13 – Lower Arm Left Link
- One M3x12mm machine screw
- One standard hex nut
Tab Assembly Method
Before you begin, you should be aware of what we are calling the Tab Assembly Method. You will be using this method for any time that a tab on a plate is connected to a hole on another plate. Take a look at the instructions below for guidance:
- Start by preloading your screw into the plate and barely starting the nut.
- Match up the nut with the correct t-shaped slot on the other plate being attached.
- Tighten the screw until it is snug but do not overtighten.
If this does not make sense yet that is okay, you will be getting some practice in this step!
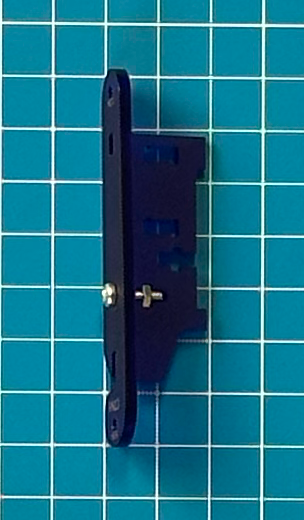
Building the Lower Arm Left Link Assembly
Follow these steps to complete the subassembly:
- Use the gauge to make sure you have an M3x12mm screw and a standard hex nut.
- Look for the “H” on joint 22 of PN13.
- Insert the screw through PN13 so the screw head rests on the side with the “H”.
- Thread the standard hex nut onto the screw, just enough to get it started.
- Grab the other plate (PN12) and match joint number 22 on both parts.
- Align the hex nut with the t-shaped slot 22.
- Align the tabs with the slots and mesh the two parts together.
- Gently tighten the screw until it is snug but not overtight ONLY after you slide the tabs into place.